Thursday, December 22, 2011

Saturday, November 26, 2011

A new cycle begins at the garden


I just cleared my plot this week after a productive season growing mostly cherry tomatoes and different lettuces and some beans. I tried green peppers this year and managed to produce one pepper from two plants! My strawberries, on the other hand, were juicy and delicious! I just wish I had room to grow more of them.


The green plant in the spiral above is a mimulus, a california native also known as the monkeyflower. I planted it a year or so ago and love the yellow flower it produces in the spring. But it has really spread all over my plot so I'm removing it and will try to transplant some in the tree wells.


After clearing my plot, I planted a bunch of fava beans. Last year, I grew fava beans and enjoyed a big harvest in the spring. This year I'm growing fava beans to enrich my soil with nitrogen. Instead of letting the plants produce beans, I'll cut them down right as they begin to flower and turn them into the soil. Fava beans are an excellent nitrogen-fixing plant. In the early stages of its growth, the plant will take nitrogen from the air and fix it in the soil. But once the plant starts to flower it takes nitrogen from the soil. To learn more, check out this video.

Friday, November 11, 2011

Time to make plans for winter gardening


Thanks to all who turned out for last weekend's work day and workshop on winter gardening. We took care of some garden chores but mostly wanted to encourage gardeners to begin making plans for the winter.

Please keep in mind that you have until December 15 to either plant your winter crop or prepare your plot for the winter by sheet mulching it. Gardeners who don't take care of this by then will have to give up their plots to one of the many folks on our waiting list.

Growing winter crops: Catherine gave a great overview of winter gardening options at our gathering last Saturday. If you're looking for some inspiration, check out her garden plot: it's the one with the white pvc frame around it in the middle row at the back of the garden. You'll also find great winter gardening advice in Golden Gate Gardening, Pam Pierce's book in the toolshed. Catherine made copies of some of the most relevant pages from the book with tips on what to plant and when. You'll find them tacked on the inside door of the toolshed. Feel free to take a copy.

If you're looking for another hands-on opportunity to learn about winter gardening, check out Garden for the Environment's workshop on Saturday, November 19.


Sheet mulching your plot: Gabriel also led a demonstration on how to sheet mulch your plot for the winter. Sheet mulching is an excellent way to prepare your plot for the winter because it will help enrich your soil and keep weeds under control during the rainy months. You'll find all the supplies you'll need for sheet mulching in the garden (straw is up front, manure is under the blue tarp, and cardboard is in the toolshed). We've posted a step-by-step guide on sheet mulching previously on the blog. I've also tacked a copy of the sheet mulching instructions on the toolshed bulletin board for easy access while you're at the garden.

Growing a cover crop like fava beans: You can also plant a cover crop like fava beans during the winter. You'll find a bag of fava bean seeds in the toolshed available for planting. Growing fava bean plants is a great way to add nitrogen to your soil but its important to remember to cut the plants down at the base as they begin to flower if that's your goal. Check out this video on planting fava beans to enrich your soil for more details. Of course, you can also let the plants continue to grow and enjoy a nice fava bean crop in the spring (but you won't get the same benefit for your soil).

I hope these tips are helpful. Please let me know if you have any questions or need any assistance. Thanks!

Tuesday, October 25, 2011

Spiders and Monsters in the Garden!


The garden is crawling with spooky spiders right now, but they're not the only creatures hiding out at Page Street! Just in time for Halloween, Kym and Denah have taken some fun photos of some of the little monsters you can find in the garden and made a really cool short film featuring the spider who lives by the back patio.


Sunday, September 25, 2011

Music, bubbles, and yummy food at the garden...


Even though the sun never quite came out, there were plenty of good vibes and lots of great music in the garden at our annual party!

It’s always so nice to have music in the garden and this year we got to enjoy several different performances. DJ Kym helped set the party mood with a fun set of tunes followed by musical performances by Jascha, the Rabbles (featuring gardeners Marina, Jay, and Kevin), and Super Natural. Thanks to all the musicians who helped make the party so special. And a big thank you to Aisha, Maizie and Aiden for keeping the bubbles blowing during all the performances!

Saturday’s party would not have been possible without everyone’s help, including: Jen G. for making the party flyer; Susan and John for helping with party set-up; Mark, Kitty, and Steve for barbecuing delicious burgers and dogs on the grill; Andria, Kym, and Denah for taking photos;Lynn for organizing fun activities for the kids, and all who helped with clean-up.

We had a lot of leftover burgers and hot dogs so I froze them and figured we'd have another cook-out at our fall workday (probably the first weekend in November). Stay tuned for details. See you next time!


Photo Credits: Andria Lo (Photos 3,5,6,8,9,13), Kym Farmen (Photos 4,7,10,11,12), Michael McCauley (Photos 1,2)

Friday, August 19, 2011

Summer work day a big success!


Thanks to all who helped make last weekend’s summer work day such a big success! We had a great turnout and tackled some big projects that have been on our wish list for some time. We managed to weed the common area gardens, water the tree wells, install two new brick utility patios, create two new member plots, turn the compost, and enjoyed an informative herb garden workshop!

Check out these photos taken by Denah, Kym, and Gabriel for some highlights.


Catherine helped trim and weed the common area gardens along with Diane, Kitty, Steve, Mary and Gabriel. Thanks also to Eddie for watering the tree wells along Page and Webster Streets.


Mark did an amazing job installing two new brick patios in the back of the garden -- one by the water spigot and another to the left of the tool shed. Thanks also to Adam for assisting with this project and to David for helping me pick up the supplies.


Denah and Kym created a new extension of the communal herb garden.


Kym conducted a workshop on creating a medicinal salve using comfrey leaves and another salve with St. John's wort flowers from the herb garden.


Kitty collecting St. John's wort flowers for the herb garden workshop.


Brent, Chad, and Adam turned the compost and transferred a big load into the "ready bin" available for gardeners to add to their soil.


John, Chris and Chad created two new garden plots for new members.


The garden is looking really great these days thanks to everyone's hard work and creative energy!

Thursday, August 18, 2011

Herb garden gets beautiful new signs!


Marina, Gabriel and Kym have been doing a wonderful job taking care of the communal herb garden and it's really thriving this summer. And now thanks to Chad, we have some beautiful new signs to help you identify all the different herbs growing in the garden!

We created the communal herb garden several years ago since many gardeners like to grow herbs but don't necessarily need a lot for personal use. You'll find a nice range of culinary and medicinal herbs growing in the plot that you are welcome to take trimmings from for your own use.


Mary admires Chad's beautiful new signs for the herb garden.

Monday, August 15, 2011

Freshly harvested from the garden


We've got such a wide variety of vegetables, herbs, and other plants growing in the garden this year and it's great to see what folks are harvesting from their plots. I've been collecting a nice big bag of mixed lettuce greens from my garden about once a week and enjoying a delicious little crop of strawberries this summer. Check out some photos I took this weekend of some of the things gardeners are harvesting from their plots.

What's growing in your garden? I'd love to continue documenting the harvest at Page Street. Send me your photos to add to the blog.


Wednesday, July 27, 2011

Comfrey leaves come with caution!


Symphytum officinale – Boraginaceae
“Comfrey” or “Knitbone”


Borage family
Native to England
Bee and Butterfly plant
Leaves high in Potassium - good fertilizer, compost activator, green mulch
Invasive - do not compost or disturb roots!
Remove seed heads!
Cut flower and leaf stalks 2” above ground while flowering
Wear gloves
Dry or fresh leaves may be used for topical preparations


Warning: For external use only

• All oral comfrey products have been banned by the FDA since 2001
• Comfrey contains pyrrolizidine alkaloids (liver toxins)
• Consuming comfrey can lead to liver damage or death
(Research available documenting risk of prolonged oral use of high concentrate root extractions)

However. . .Topical preparations containing comfrey are still commercially available and considered safe when used in moderation. To my knowledge there have been no reports of poisoning from topically applied comfrey leaf products, but research suggests the skin absorbs PAs, so it should:

NOT be applied to open wounds or broken skin
NOT be applied to pregnant or breastfeeding women, children or the elderly.

Before the FDA issued warnings about this plant, it had been used for centuries as a pain and inflammatory, skin and bone healer. Today there are clinical trials suggesting topical efficacy for pain and inflammation associated with injury and arthritis. So look at the research and use your own common sense and judgment before experimenting with this controversial plant.

BY Kym Farmen, Master Herbalist

Monday, July 25, 2011

Bumper crop of alderman and maxigolt peas

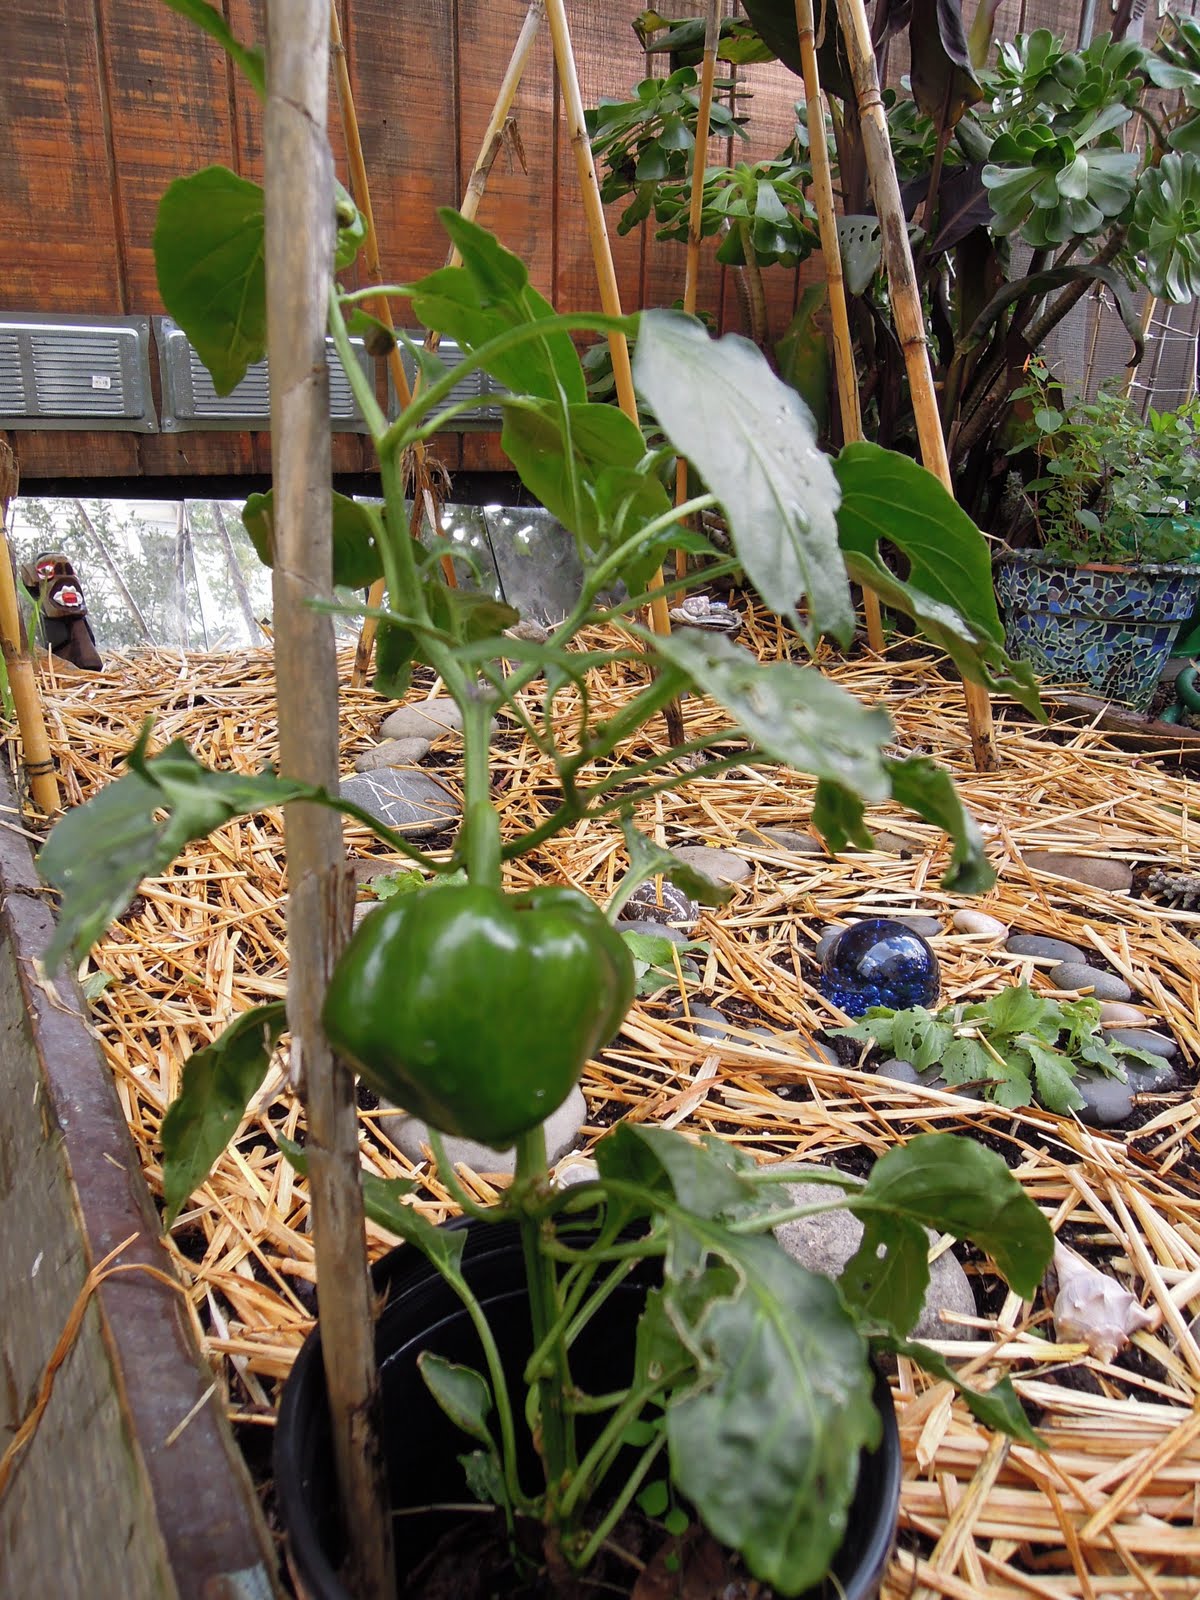
The garden is really thriving these days and it's been great to see the success that gardeners are having this year. One standout so far has been the peas that Catherine grew (to great heights!) on the trellis she built around her plot.

Catherine shared some photos and some info on the peas she grew that I wanted to pass along to other gardeners. Here's what I learned from Catherine:

Catherine grew two varieties of peas: Alderman Tall Telegraph an heirloom, and Maxigolt not an heirloom. Both are shelling peas, also called English peas. This is the variety of peas that have the most total nutrition (even including the pod of a snap pea or snow pea).

Catherine set out seedlings using organic pea inoculant on the roots in mid-February. She put out the Aldermans a little before the Maxigolts because Aldermans have a longer date to maturity, which is typical of heirloom varieties.

On average Alderman peas take about 75 days; and Maxigolt, about 60. The Alderman grew a full 8 feet tall! Maxigolt grew 4 feet. As expected, Alderman took longer to mature.

According to Catherine, the Aldermans have a seriously old fashioned pea flavor but no starchiness. They taste sweet until you eat a Maxigolt. The Maxigolt are milder, brighter, and sweeter. They also have bigger peas within those smaller pods. Catherine enjoyed them raw, barely steamed, and even frozen and then raw or steamed. There is no need to blanch them first.

Contact Catherine with your questions at catherine_ashworth@yahoo.com